Managing business data can be complex, especially when moving vital financial information across systems or safeguarding it for future use. Whether you’re upgrading software, migrating to QuickBooks Online, or just reorganizing data, learning how to import data from QuickBooks Desktop accurately is critical.
In this detailed guide, we’ll walk through every major scenario:
- Exporting data from QuickBooks Desktop
- Importing data into QuickBooks Desktop
- Moving data from Desktop to QuickBooks Online
- Avoiding common errors
- Best practices for data safety
This comprehensive, step‑by‑step guide to import data from QuickBooks Desktop covers everything you need to know — even if you’re a beginner.
Why Export and Import Data from QuickBooks Desktop?
Exporting and importing data from QuickBooks Desktop is essential when:
- Upgrading software versions
- Migrating to QuickBooks Online
- Sharing data with accountants or partners
- Backing up critical financial information
- Consolidating or cleaning up company information
Performing this correctly ensures a consistent workflow and avoids lost transactions, mismatched balances, or corrupted files.
QuickBooks Desktop Data Export Basics
Before diving into specific processes, it’s crucial to understand the common data types you’ll be working with:
✔ Company File (full data)
✔ Customer and Vendor lists
✔ Chart of Accounts
✔ Transactions: Invoices, Bills, Payments
✔ Time Tracking and Payroll
✔ Inventory
QuickBooks Desktop export and import features differ based on the data type, file format, and target platform.
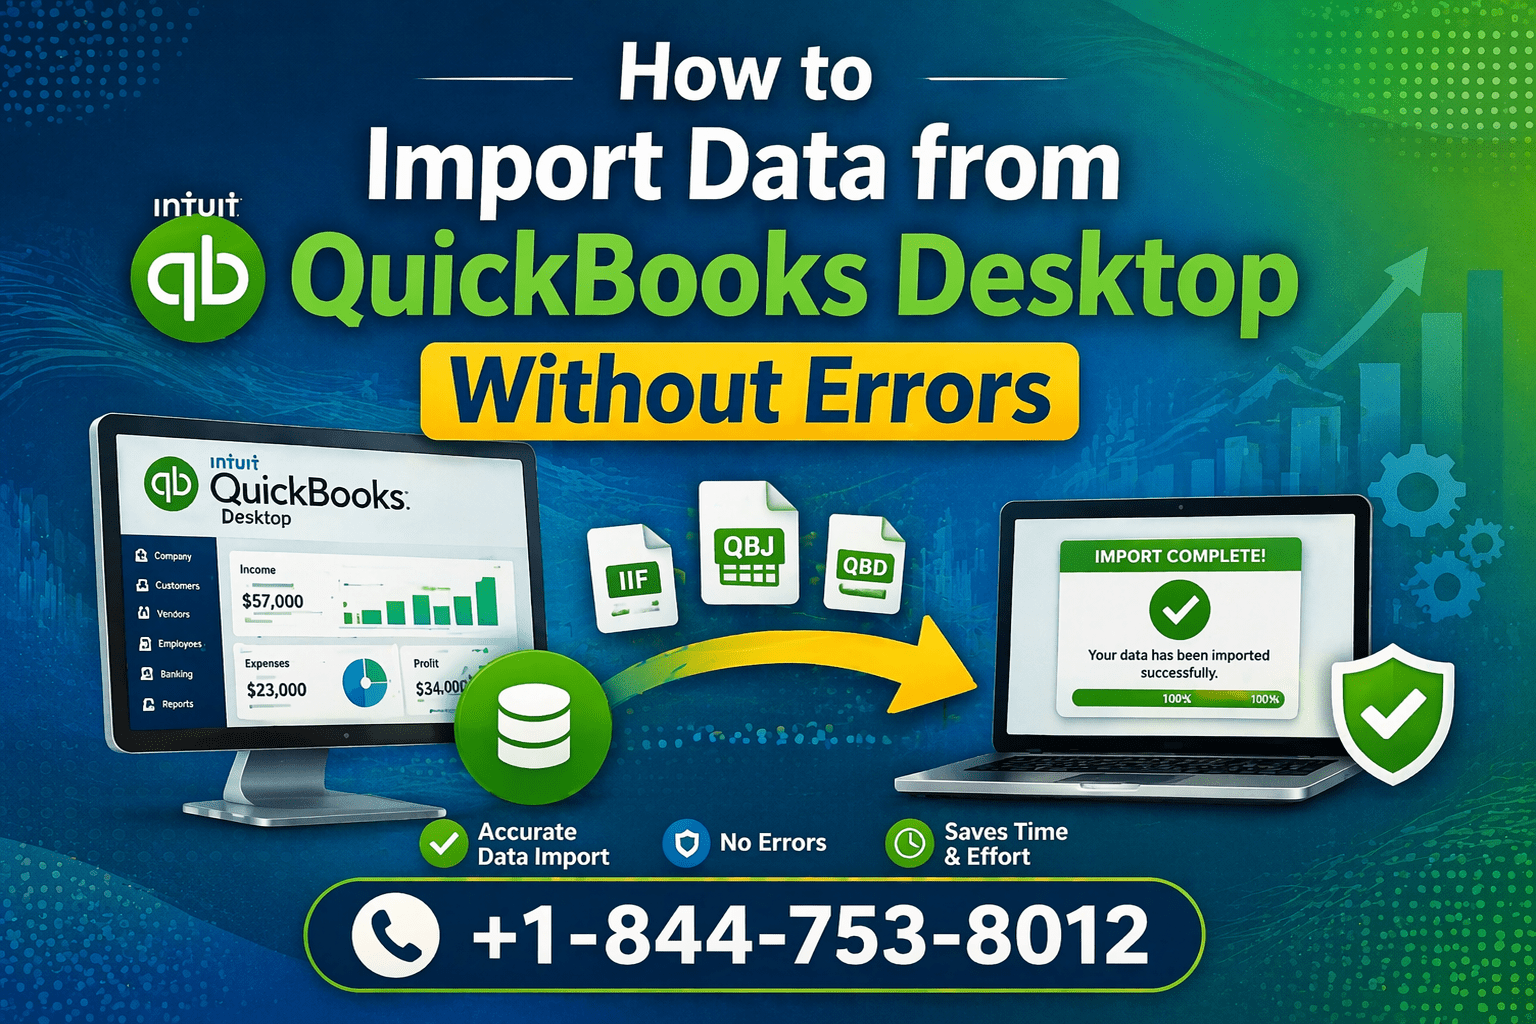
How to Export a QuickBooks Company File
The most complete way to transfer data is by exporting your QuickBooks company file (.qbw). This preserves all accounts, customer data, lists, transactions, inventory, and more.
Steps:
- Open QuickBooks Desktop
- Go to File > Back Up Company > Create Local Backup
- Select Local Backup and click Next
- Choose a backup location (USB, cloud folder, external drive)
- Click Save and wait for QuickBooks to complete the backup
📌 Tip: Always verify the backup file size and date to confirm a successful export.
Exporting Lists and Transactions from QuickBooks Desktop
If you don’t need a full company backup — for example, if you only want lists or transactions — use QuickBooks’ built‑in export features.
Exporting Lists:
- Go to File > Utilities > Export > Lists to IIF Files
- Choose lists (Customers, Vendors, Chart of Accounts, Items)
- Save the IIF file
Exporting Transactions:
QuickBooks doesn’t export transactions directly to Excel unless you use:
✔ Reports (e.g., Transaction List by Date)
✔ Third‑party tools (if needed)
Steps:
- Open the report for the transaction type
- Set date range
- Click Excel > Create New Worksheet
- Save the file
This helps when importing into other systems or when transferring specific transaction data.
How to Import Data into QuickBooks Desktop
Now let’s cover how to import QuickBooks Desktop company file and data that you’ve exported or received.
Import Customers and Vendors into QuickBooks Desktop
Importing customer and vendor lists ensures you keep your contacts accurate and complete.
Supported Formats:
✔ Excel (.xls / .xlsx)
✔ CSV (.csv)
Steps:
- Go to File > Utilities > Import > Excel Files
- Choose Advanced Import (or Add/Edit Multiple List Entries)
- Select your file
- Map columns (e.g., Name → Customer Name, Email → Email)
- Click Import Now
💡 Tip: Standardize columns before importing to prevent mapping errors.
Also Read: How to Customize Invoices in QuickBooks: Step-By-Step Guide
Importing Transactions, Accounts & Other Data
QuickBooks Desktop supports importing:
✔ Chart of Accounts
✔ Products & Services
✔ Transactions (Invoices, Bills, Checks)
✔ Time Tracking
For lists, use “Add/Edit Multiple List Entries.”
For transactions:
- QuickBooks supports IIF files
- CSV templates can be used but must match QuickBooks’ required format
- Some transactions may require third‑party import tools
Example: Importing invoices
- Prepare a properly formatted IIF file
- Inside QuickBooks: File > Utilities > Import > IIF Files
- Select your file and import
📌 Note: Always back up your company file before importing transaction data!
QuickBooks Desktop to Online Import
One of the most common questions is how to safely import QuickBooks Desktop company file to QuickBooks Online — especially without errors.
Steps:
- Log in to QuickBooks Online (QBO)
- Go to Settings > Import Data
- Choose QuickBooks Desktop
- Follow the prompts to upload your company file
QuickBooks Online will evaluate your desktop file and convert it automatically.
Also Read: How to Activate QuickBooks Payments Service Quickly
Tips for a Smooth QuickBooks Desktop to Online migration:
🔹 Clean up or close old accounts before migrating
🔹 Correct negative item quantities
🔹 Ensure class and location tracking settings are accurate
🔹 Use the built‑in conversion tool
This QuickBooks Desktop data migration process takes care of accounts, lists, transactions, and payroll (if eligible).
📞 Need help migrating without errors? Call 844‑753‑8012
Troubleshooting Common QuickBooks Desktop Import Errors
Even when following all the steps, errors can happen. Here’s how to resolve common issues:
❌ Import Errors Checklist
✔ Data formatting errors
✔ Duplicate names or transactions
✔ Missing mandatory fields
✔ Incorrect date formats
✔ Unsupported transaction types
Fix:
✅ Ensure file is UTF‑8 or Excel format
✅ Re‑map fields correctly
✅ Remove special characters
✅ Update QuickBooks to the latest release
Best Practices for Safe QuickBooks Data Transfer
Whether you’re doing a QuickBooks Desktop import process for transactions and accounts or a full migration, follow these best practices:
Always Back Up First
Before any export or import, back up your QuickBooks Desktop company file.
Validate Your Source File
Open exported reports to confirm data integrity.
Use Templates
For lists and transactions, use the official templates QuickBooks provides.
Check QuickBooks Version Compatibility
Older files may need to be upgraded before importing.
Perform a Test Import First
Run imports on a sample copy of your QuickBooks file before real import.
Review After Import
Compare totals, list counts, and balances to confirm success.
Keep a Log of Changes
Document what you imported and when, so you can undo if needed.
Final Checklist for Export & Import Success
Before importing, make sure you’ve:
☑ Backed up your QuickBooks Desktop company file
☑ Exported needed lists and transactions correctly
☑ Cleaned up customer, vendor, and accounts lists
☑ Validated formatting (dates, names, amounts)
☑ Used correct templates
☑ Tested on a sample file
☑ Confirmed successful import
Need Expert Assistance?
If you want hands‑on help or run into errors during the QuickBooks Desktop import process for transactions and accounts, we’re here for you.
📞 Contact our support team: 844‑753‑8012
✔ 24/7 QuickBooks help
✔ Error troubleshooting
✔ Data migration support
✔ Clean import services
Conclusion
Understanding how to import data from QuickBooks Desktop — and doing it without errors — can save your business time and money. Whether you’re importing customers, vendors, transactions, or doing a full QuickBooks Desktop to Online import, this guide gives you the knowledge and tools to succeed.
Remember:
✔ Always back up your file
✔ Use proper formats and templates
✔ Check for errors early
✔ Validate results after import
And if you need help? Just call 844‑753‑8012.
Frequently Asked Questions
A: Yes — but some older or custom transaction types might require conversion or third‑party tools.
A: QuickBooks Desktop doesn’t import payroll directly from CSV. Full payroll transfer often happens through company file migration.
A: QuickBooks Online conversion can’t be undone once completed — so always test with a backup first.